Generate and pass API token to subsequent request in JMETER

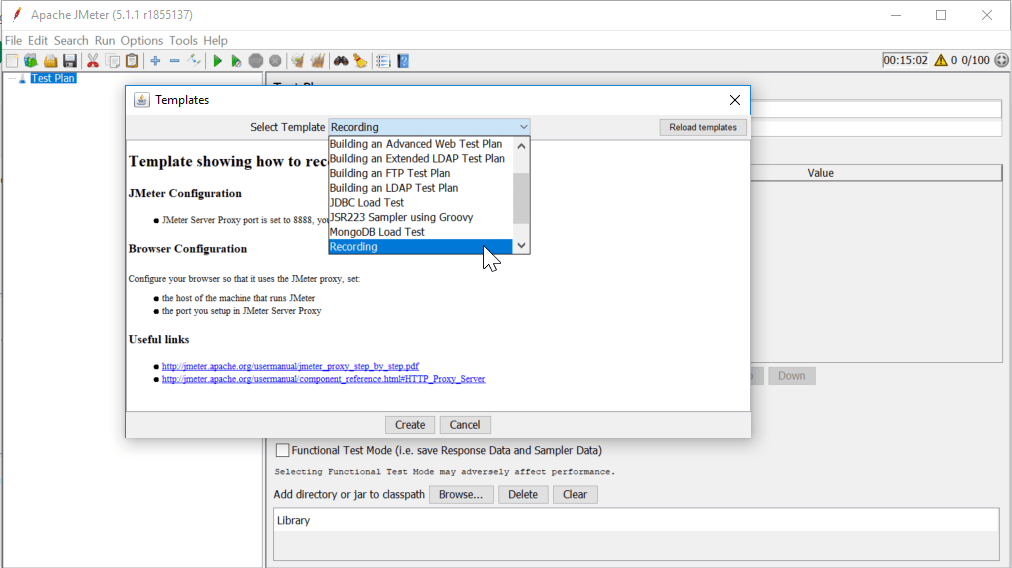
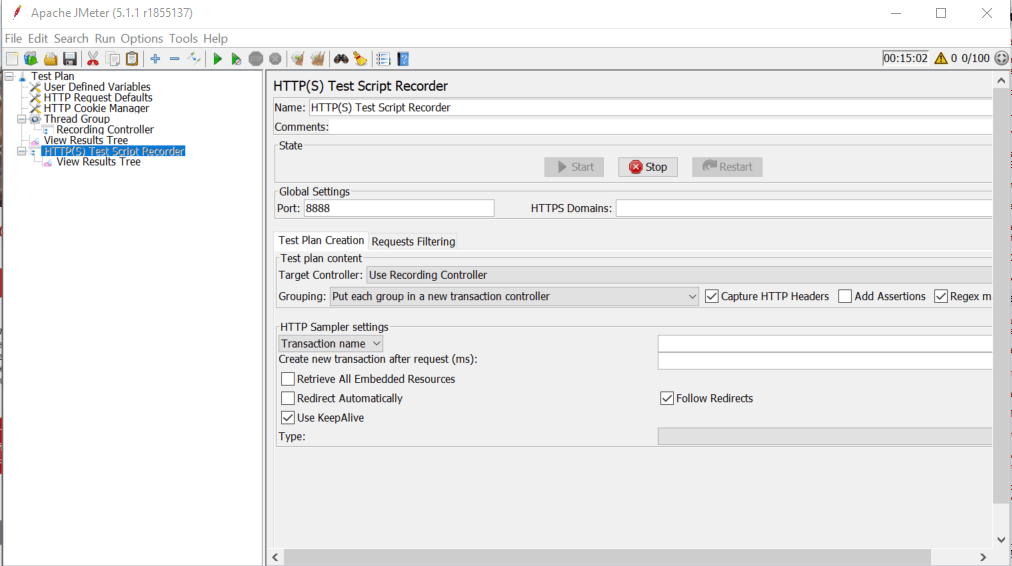
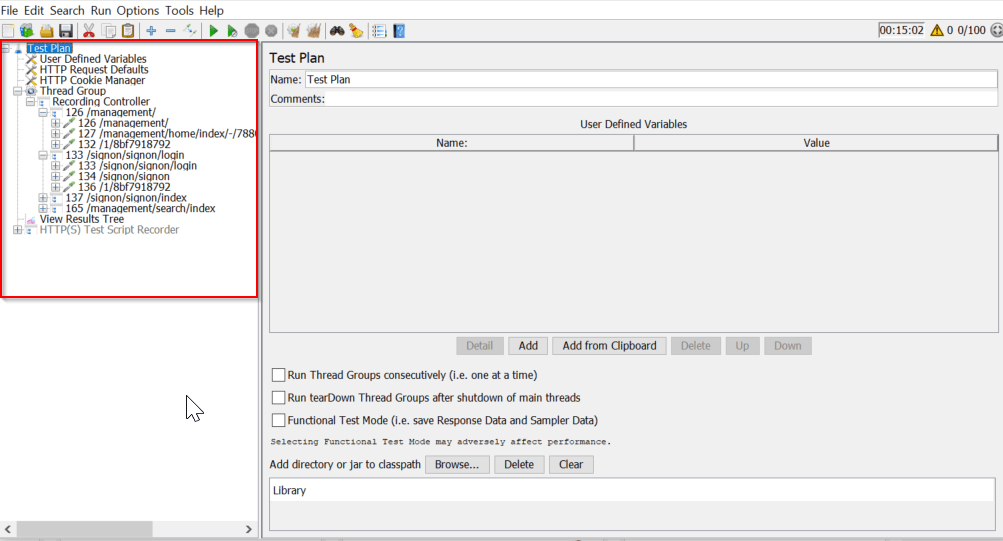
Step 1: Open JMeter -> Add Thread Group to the Test Plan -> Add Http request sampler

Step 2: Select HTTP Request sampler and change the name if you wish to.

Step 3: In the Basic tab Enter following information:

Protocol – http/https

Server Name or IP – Enter server name/IP to generate the token. e.g abc.amazoncognito.com

HTTP Request – POST

Path: Enter the query parameter to generate the token. eg. oauth2/token

Step 4: In the parameter tab enter the following information:

Name: grant_type Value: client_credentials

Name: client_id Value: Enter client ID

Name: client_secret Value: Enter client secret

Step 5: Add Post Processor JSON Extractor in the Thread group.

Step 6: Enter following information:

Names of created variables: accessToken

JSON Path expression: access_token

Step 7: Add BeanShell Assertion in the thread group and add following code in the script section.

${__setProperty(bearerTokenforanotherThread, ${accessToken})};

Step 8: Add another thread group to add request which will be using the token generated in above steps.

Step 9: Add BeanShell PreProcessor in the Thread to store the token value and add following code in script section of BeanShell PreProcessor

String bearerToken = ${__property(bearerTokenforanotherThread)}.

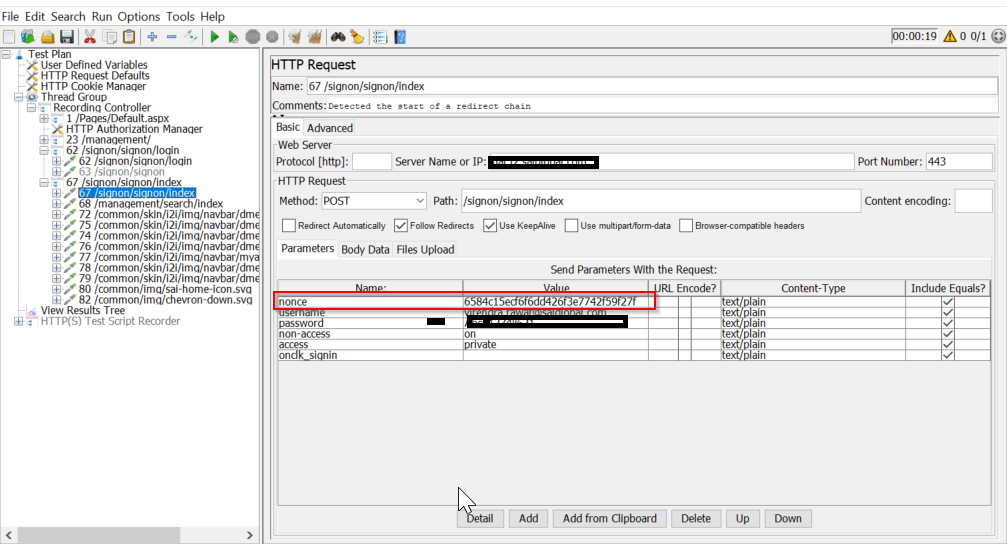
Step 10: Add HttpRequest in the thread group and enter following information.

Protocol: http/https

Server Name or IP: Name or IP of API server

HTTP Request: GET/POST/PUT/DELETE

Path: URI Path of the request

Step 11: Select http request -> right click ->Add->config element->HTTP Header Manager
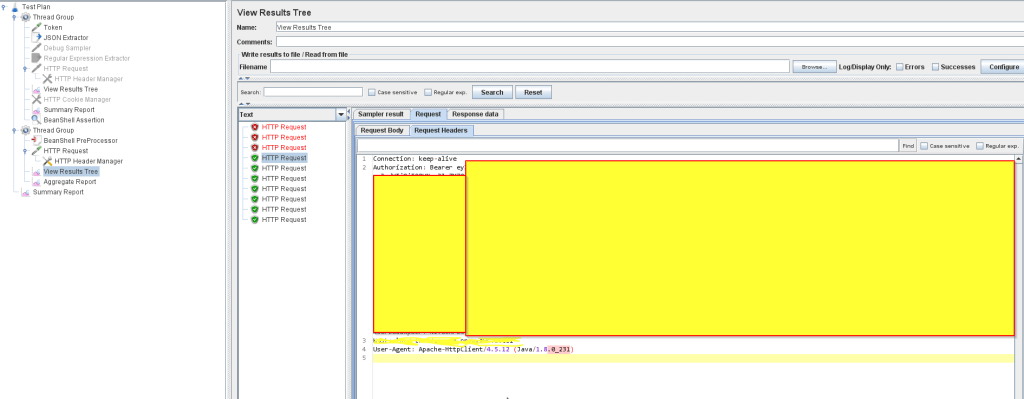
Step 12: Add following code in http header manager:
Name: Authorization
Value: Bearer ${__property(bearerTokenforanotherThread)

Step 13: Run the plan. Token should be generated and pass to the subsequent request in next thread group.

How to solve login fail issue in JMETER Script

After recording the script in JMETER, if we run the script without making any changes, login fails.

To solve this problem, please follow below steps.

After recording, select login page to see the http request.

In http request, under parameter table, nonce appears at the top of the table with some random values as shown in image below.

Delete “nonce” from the table and run the script again.

Login successful !!

Web application Performance Testing using Jmeter

  • Go to bin folder of apache-jmeter
  • Launch jmeter by clicking jmeter.bat
  • In Jmeter, Go to File -> Templates
  • Select Recording from the Select Template drop down.
  • Click Create and enter application url in hostToRecord text box.
  • Click Create. It will create the performance test plan.
  • To start the recording, select “HTTP(S) Test Script Recorder”
  • After clicking the start button, Root CA certificate will be generated.
  • This certificate is valid only for 7 days. Start the browser and import the certificate.
  • Go to IE->Internet Options->Contet->Certificates-Import
  • Once the certificate imported successfully, change the IE LAN settings to localhost with the port mentioned in JMeter recorder global settings.
  • Once the above setting is done. Enter the application url in IE and start recording the performance scenario.
  • Once the recording completed, this is how the Jmeter will look.
  • Add summary report and aggregate report in the plan to get the performance results.
  • Right click on Test Plan -> Add -> Listener -> Summary Report/Aggregate Report
  • Performance Test Plan is ready to run.
  • Select Thread Group. Change the Thread number as per the requirement and click green button to start the performance testing.
  • Once the execution finished, summary and aggregate report will be generated.